Are you looking to install a pet turf?
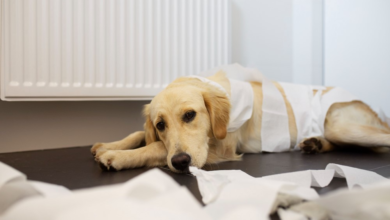
Your pet is a family member, so you must ensure they have the best accommodations possible. Pet turf can be an attractive alternative to outdoor concrete or dirt. Turf provides a safer and softer surface for your cat or dog to play on.
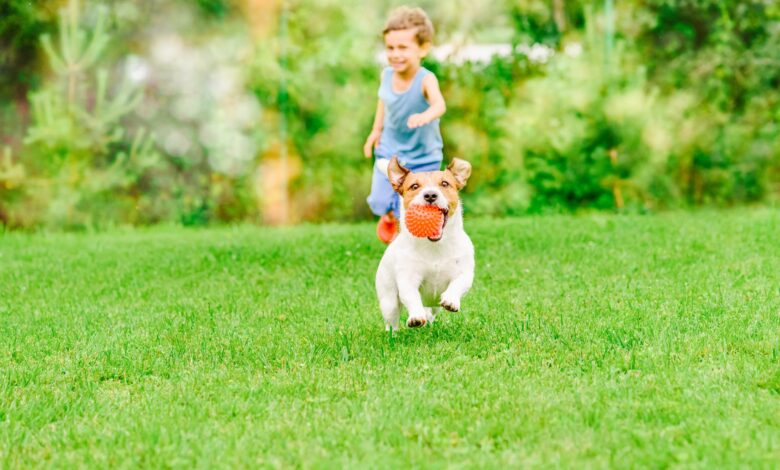
It’s also a useful medium for potty training your dog or puppy. Dogs love being able to run around a well-designed backyard but will also enjoy using it to go to the bathroom.
To learn more about the pet turf installation process, keep reading.
Assess Your Space
Begin by evaluating the area where you intend to install pet turf. Measure the dimensions and consider any unique features or obstacles in your yard. A clear understanding of your space will help you plan accordingly.
For expert guidance on how to install pet turf and product recommendations, you can click for pet turf installation here. They’ll survey the area and recommend installation techniques based on your needs.
Gather Materials
Before you start the installation, gather all the necessary materials. You’ll need pet turf rolls, crushed stone or decomposed granite, and weed barrier fabric.
You’ll also need edging materials, nails or staples, infill material (usually silica sand or rubber granules), and turf adhesive.
Prepare the Ground
Remove any existing grass, weeds, or debris from the installation area. Ensure the ground is level and smooth. Address any drainage issues or irregularities in the terrain as needed.
Lay Weed Barrier Fabric
Roll out weed barrier fabric over the prepared ground. This fabric serves as a crucial weed deterrent, preventing unwanted plants from growing through your pet turf. Trim the fabric to fit the area neatly.
Install Base Material
Spread a layer of crushed stone or decomposed granite evenly over the weed barrier. This base layer enhances drainage and provides a stable foundation for the pet turf. Use a compactor to compact the material firmly.
Consider Edging
If your installation area has slopes or requires defined edges, consider installing edging materials like bender boards or metal stakes. Edging helps maintain the shape of the pet turf and keeps it securely in place.
Lay Pet Turf
Roll out the artificial turf for pets over the prepared area. Ensure it fits snugly into the designated space.
If you cover a larger area, you may need to seam multiple rolls together using turf adhesive and seam tape. Smooth out any wrinkles or creases for a uniform appearance.
Secure Edges and Apply Infill
To prevent the pet turf from shifting or curling at the edges, secure it with nails or staples along the perimeter and at regular intervals. After securing the borders, it’s time to apply infill material.
Spread the infill evenly across the turf, using a power broom or stiff brush to work it into the fibers. This not only supports the turf blades but also helps with drainage and cushioning. Be sure to brush the turf to make the blades stand upright for a natural look.
Start Your Pet Turf Installation Today
The pet turf installation process may seem daunting at first. But, with the right tools and knowledge, it can be a straightforward and rewarding project. By following these steps, you can transform your outdoor space into a safe and enjoyable environment for your furry friends.
Don’t wait any longer! Start your pet turf installation process today and give your pets the gift of a durable and low-maintenance play area. Happy turfing!
For more informative articles, please visit the rest of our blog.